
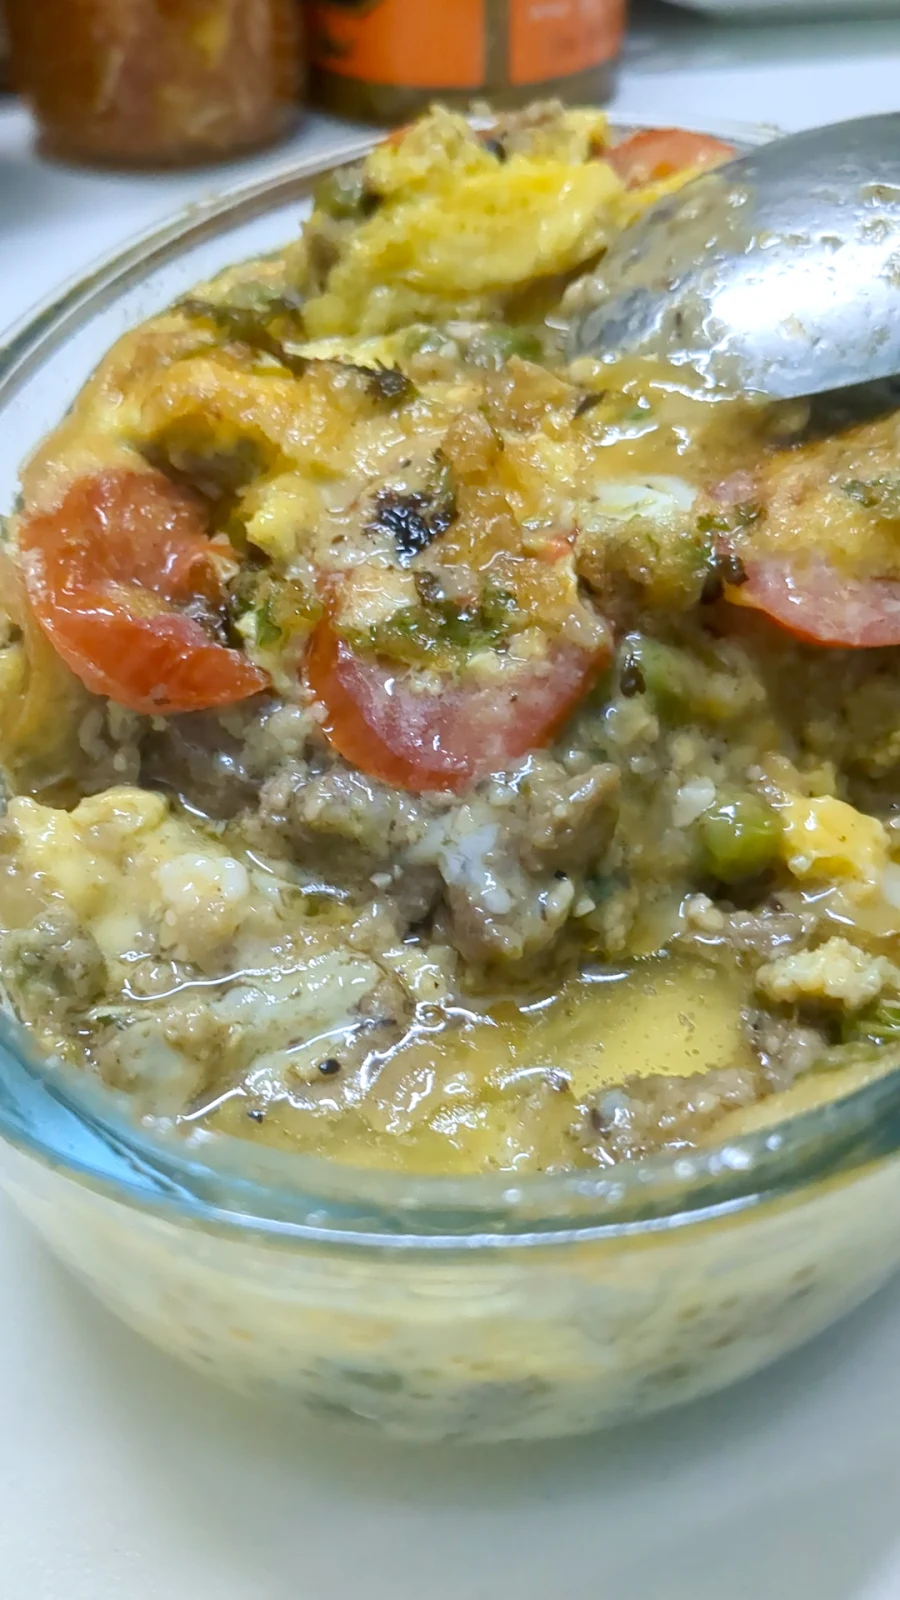
Dabba Gosht is one of those dishes that makes an impression without needing an elaborate presentation. It brings together the comfort of a slow-cooked meat dish and the indulgence of a beautifully finished baked preparation. The result is a dish with two personalities: hearty and familiar underneath, yet rich and elegant on top.
This version has its own distinct character. The creamy gravy gives the meat its richness, while the final baked coating creates a delicate finish that makes every serving feel special. It is the kind of preparation that turns an ordinary family meal into something worth looking forward to.
Ingredients List
| Sr. | Weight | Units | Name |
|---|---|---|---|
| • | 350 | gms | Boneless Mutton |
| • | 150 | gms | Cashew Nut Powder |
| • | 50 | gms | Fresh or Frozen Green Peas |
| • | 50 | gms | Tomato Slices (for layering) |
| • | 30 | gms | Ghee (plus extra for final drizzle) |
| • | 15 | gms | Sesame Seed Powder |
| • | 10 | gms | Garlic & Green Chili Paste |
| • | 5 | gms | Finely Chopped Onion |
| • | 5 | gms | Shah Jeera / Black Cumin |
| • | 5 | gms | Salt (to taste) |
| • | 5 | gms | Fresh Mint Leaves |
| • | 5 | gms | Fresh Coriander Leaves (for garnish) |
| • | 3 | gms | Whole Black Peppercorns |
| • | 3 | gms | Roasted Jeera / Cumin Powder |
| • | 3 | gms | Black Pepper Powder (to taste) |
| • | 3 | Nos | Eggs (Beaten) |
| Water (as required) | |||
Method / Instructions
- The Aromatic Tadka: Heat ghee in a pan. Add shah jeera and whole black peppercorns, letting them splutter. Add the finely chopped onion and sauté until translucent.
- Searing the Mutton: Stir in the garlic and green chili paste, then add the boneless mutton chunks. Season with salt, black pepper powder, and roasted cumin powder. Sauté the mixture thoroughly to sear the meat and coat it well with the spices.
- Simmering to Tenderness: Pour in water as required, cover the pan, and let it simmer until the mutton becomes tender and succulent.
- Building the Nutty Gravy: Once the mutton is cooked, stir in the fresh or frozen green peas. Add the finely ground sesame seed powder and rich cashew nut powder, mixing well to build that signature rich, nutty gravy.
- Layering the Dish: Transfer the cooked mutton mixture into a baking dish or dabba. Layer it beautifully with fresh mint leaves and tomato slices.
- The Silky Egg Coating: Pour the beaten eggs evenly over the top layer to create the classic silky egg coating, then garnish generously with fresh coriander leaves.
- The Celebratory Finish: Deliver the final touch by heating extra ghee to its smoking point and executing a dramatic pour over the beaten eggs to create an aromatic sizzle. Bake or steam until completely set. Serve hot! Jamjo ane Jamarjo!
Nutrition Facts (Per 100 gms Servings)
| Nutrient (Basic) | Amount (Approx.) |
|---|---|
| 🔥 Calories | 350 Kcal |
| 💪 Protein | 17.6 g |
| 🌾 Carbohydrates | 9.4 g |
| 🥑 Total Fat | 27.8 g |
| 🧈 Saturated Fat | 10.1 g |
| 🌱 Dietary Fiber | 1.7 g |
| 🍬 Sugars | 2.2 g |
| 🧂 Sodium | 346 mg |
*Disclaimer: The nutritional values provided here are estimates generated for reference only and may vary based on exact ingredient brands and preparation techniques. Please calculate your nutrition independently if following a strict diet.
Chef’s Note
The highlight of this version is its rich, nutty gravy and soft egg topping.
Avoid making the gravy too thick before layering. It will continue to settle and thicken during the final cooking.
Tips & Tricks
Cut the mutton into evenly sized pieces to ensure uniform cooking.
Cook the meat until completely tender before adding the nut powders.
Grind the cashews and sesame seeds finely for a smoother gravy.
Add the nut powders gradually while stirring to prevent lumps.
Keep the gravy slightly loose before transferring it to the baking dish.
Spread the beaten egg evenly so the surface cooks uniformly.
Pour the hot ghee carefully over the egg layer for an even finish.
Allow the dish to rest briefly after baking before serving.
No doubt 1 of the most awaited recp....thnk u so much for d recp...will try asap
ReplyDeleteToo good
ReplyDelete